Get started
Code
Publish New
Shortcuts
Get started
Pingendo is a dead-simple yet powerful toolkit for web design and development. This means that most of the things explained here can be figured out while using the app. Though, there might be some tricks worth to know to speed up your workflow.
UI basics
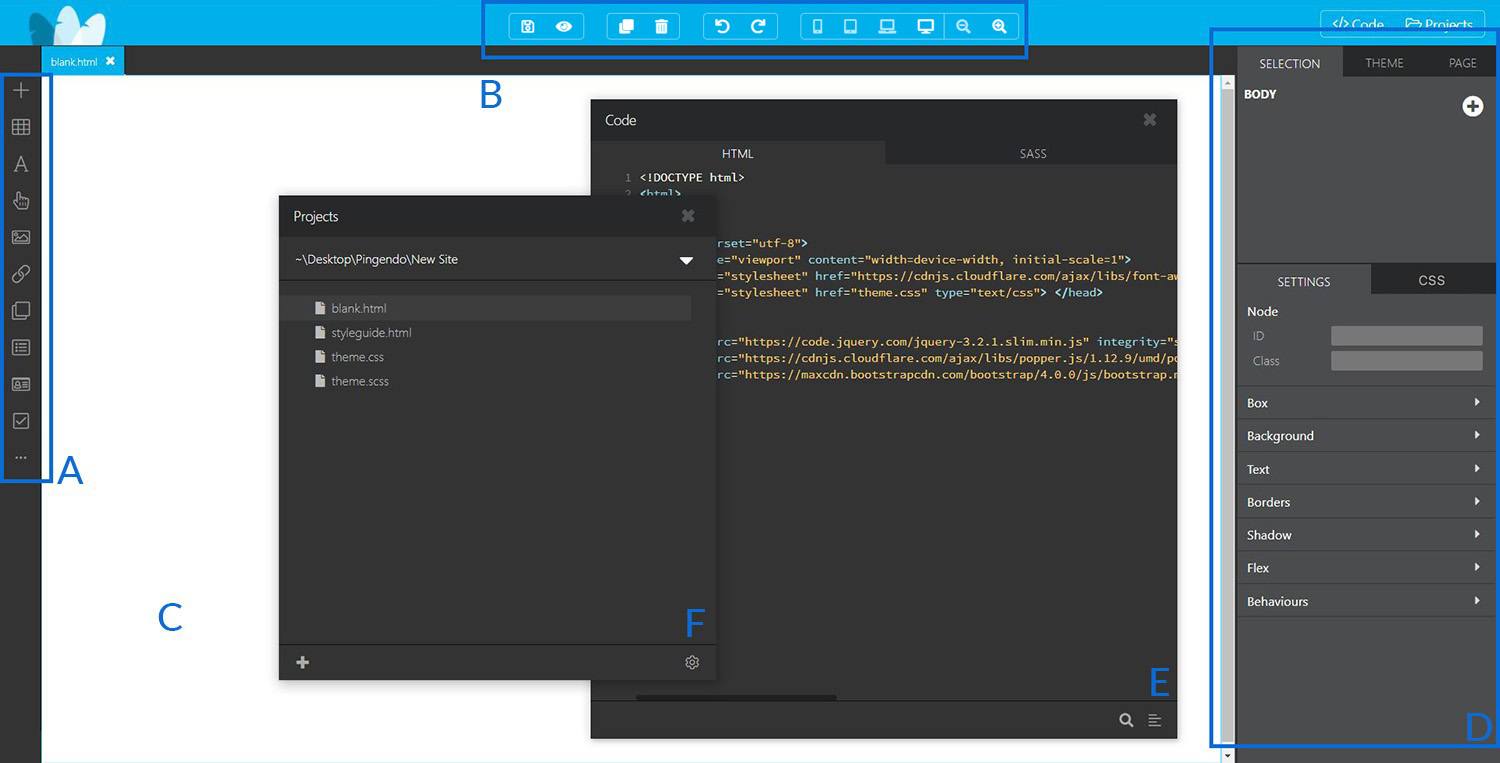
This is Pingendo interface:
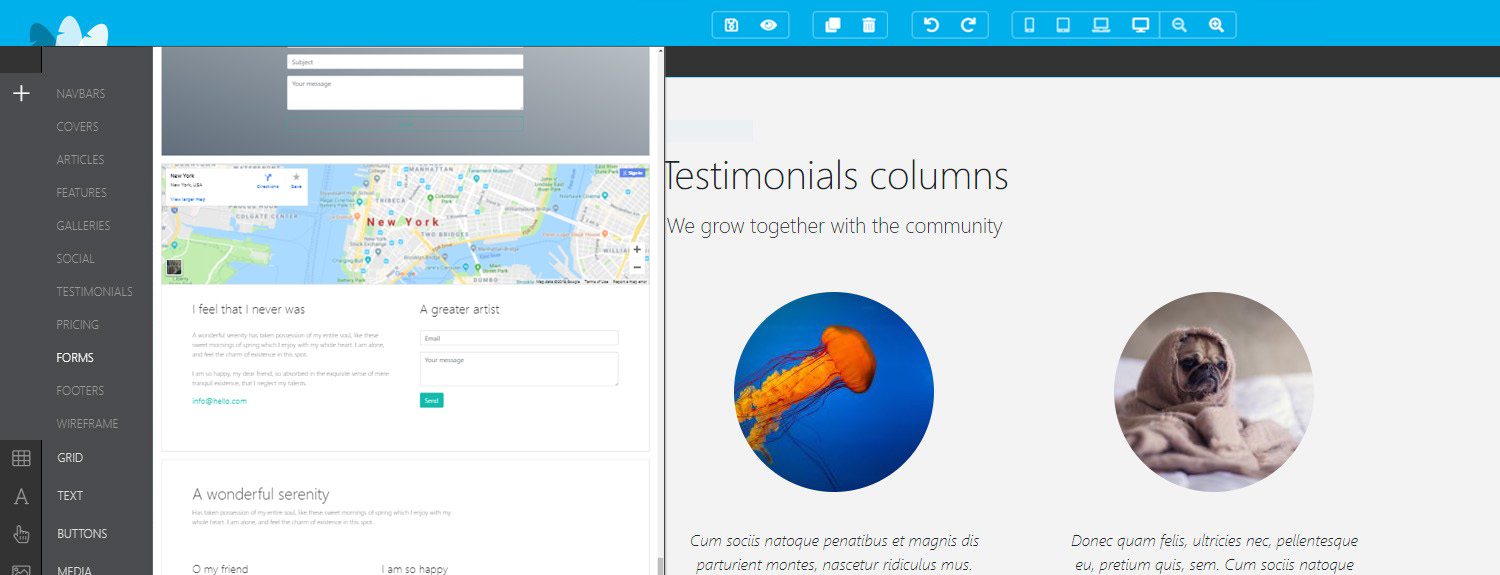
- Sections and components: browse pre-made blocks, drag and drop them into your pages.
- Toolbar: basic commands. It displays rich text option when typing.
- Canvas: your main working area
- Right inspectors: configure elements, styles and basics SEO.
- Code: Inspect and edit HTML and Sass source
- Projects: view and handle your project pages
Start a new page or project
You can start with a single page or a blank project. The first will open a new Untitled.html tab without asking anything. After the first changes Pingendo will ask to save your files locally (HTML, .css and .scss). Starting a project will prompt you to immediately choose a directory. Create a new page or project from the OS menu on the top left or by the project panel by clicking on the
Open a project or template
You can open your projects in Pingendo from the OS menu or from the project panel by selecting the folder. You should be able to see its content and manage pages and themes directly within this panel. Right-click on the items for further options.
Starting from a template takes few clicks: browse the Template library and choose Open in Pingendo. Choose a folder and the pages will be downloaded and listed in the project panel automatically.
Pingendo is based on Bootstrap framework and takes full advantage of its features thanks to Sass. Understanding some basics concept will speed up your website building process, so it's advisable to read the docs of both these tools.
Building
Pingendo lets you draft and creating amazing web pages easily and with infinite possibilities. It's based on Bootstrap framework and its layout: a powerful mobile-first flexbox grid. It uses a twelve column system with five responsive tiers, Sass variables, mixins and much more.
Drag and drop
Select the icon in the left panel to see the list of sections and components. They are Bootstrap blocks so all the information can be found in the official docs and online. Simply drag the element you need into the canvas: the highlithed cyan line indicates you where it's going to be dropped.
Copy / paste
Components, grid elements (columns, rows, ...) and whole sections can be copied and pasted in the same page or across different HTML files. Just select the element in the canvas and press the OS shortcut to copy or paste (e.g. Ctrl+C on Windows).
Clone, replicate and add child
There are other simple ways to speed up your page building. Select any element and clone it by clicking on the symbol in the toolbar. Columns and rows could be replicated instantaneously by clicking on the circled + on the edge.
The most useful feature to add an element is the in the components tree: in any moment it lets you add a child to the element selected. The options will change according to the selection, so be sure to often check it to see the variuos options.
You can both select components from the tree or in the canvas (pressing Esc you'll select the parent element).

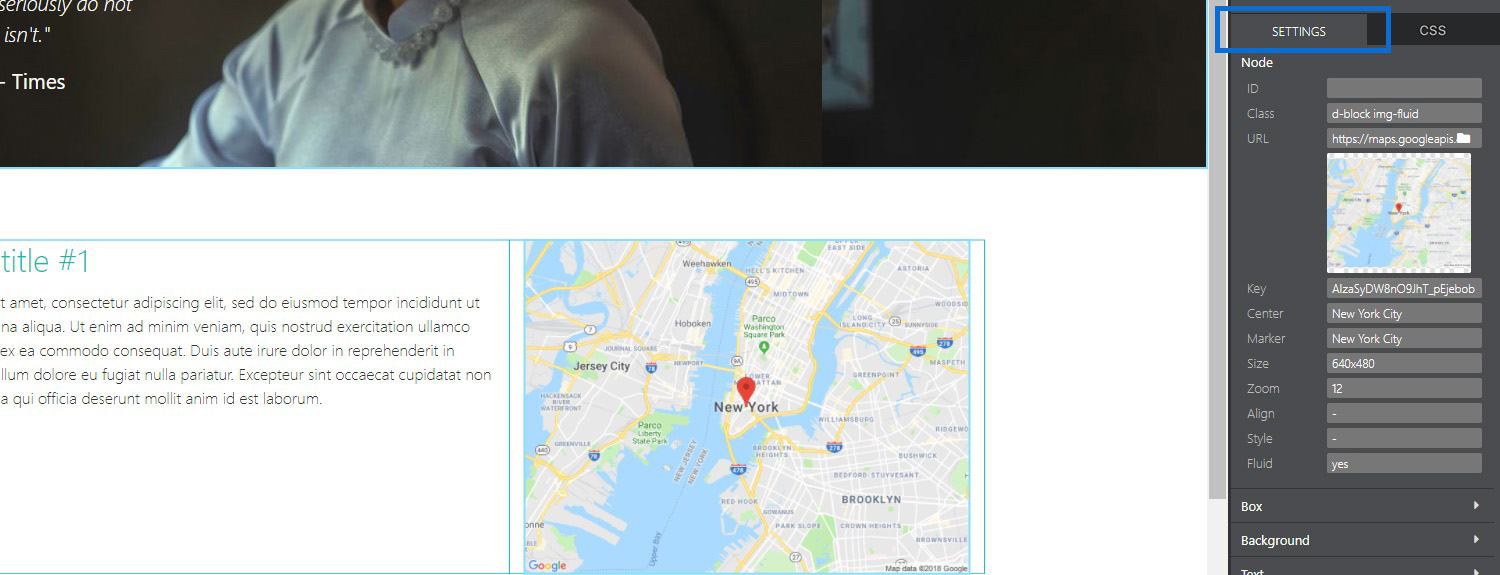
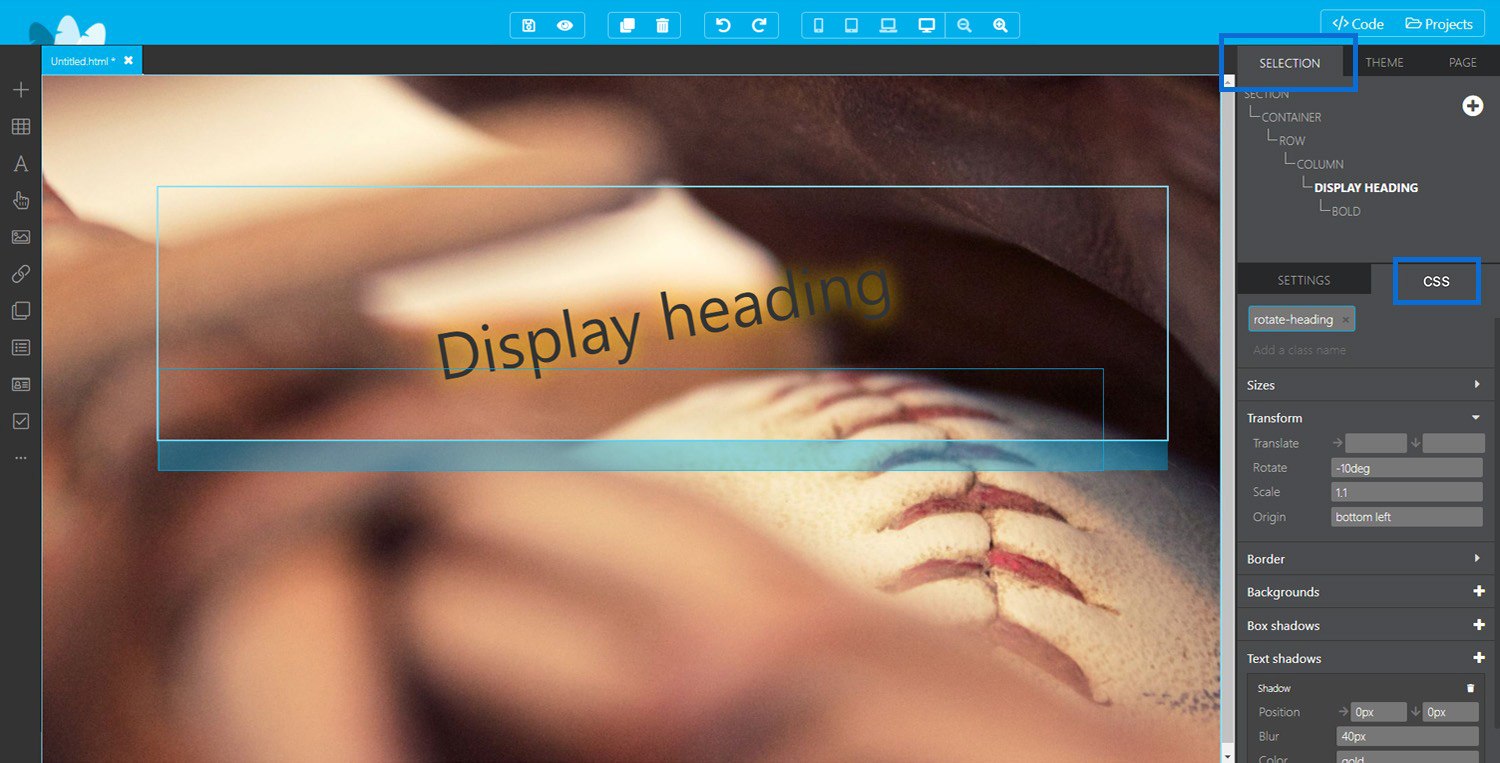
Element settings
Any time you select something in the canvas, you will notice the Selection tab changing. Any components has specific fields that can be edited to customize its aspect, like width, color or margins. Almost all the settings will add a specific class to the element (e.g. <p class="text-light">).
You can see the list of possible settings for any element. Considering the singularity of every component, you won't find here an explanation for all of them: refer to Bootstrap docs for specific parameters.
Code editor
Pingendo allows you to build and customize websites with no need to type a single line of code. At the same time, it lets you access the HTML source with ease: you can type, modify, copy/paste anything you want from the HTML editor and see the canvas changing.
Theming
Any component comes along its default values but you can always apply a touch of style to it. See here how to modify and personalize almost everything in Pingendo.
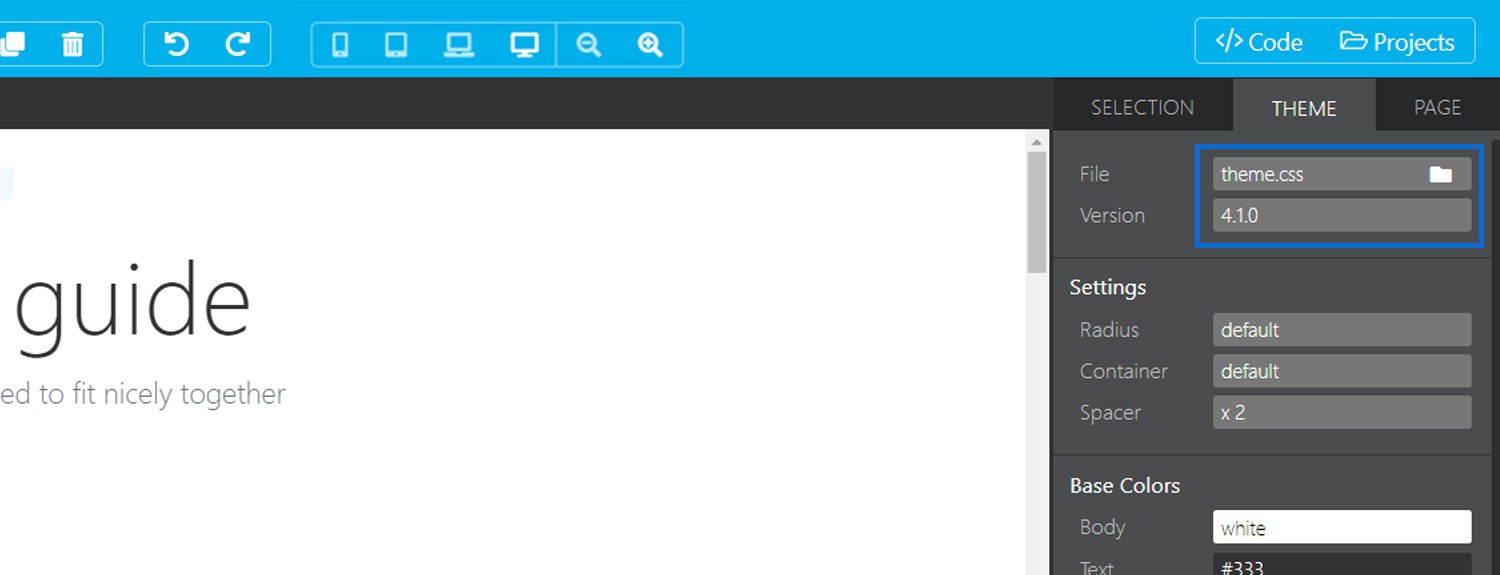
Theme settings
Modify few values to get a completely different look for your website: spaces, colors and fonts are fundamental aspects to consider. These elements can be easily modified by the Theme inspector.
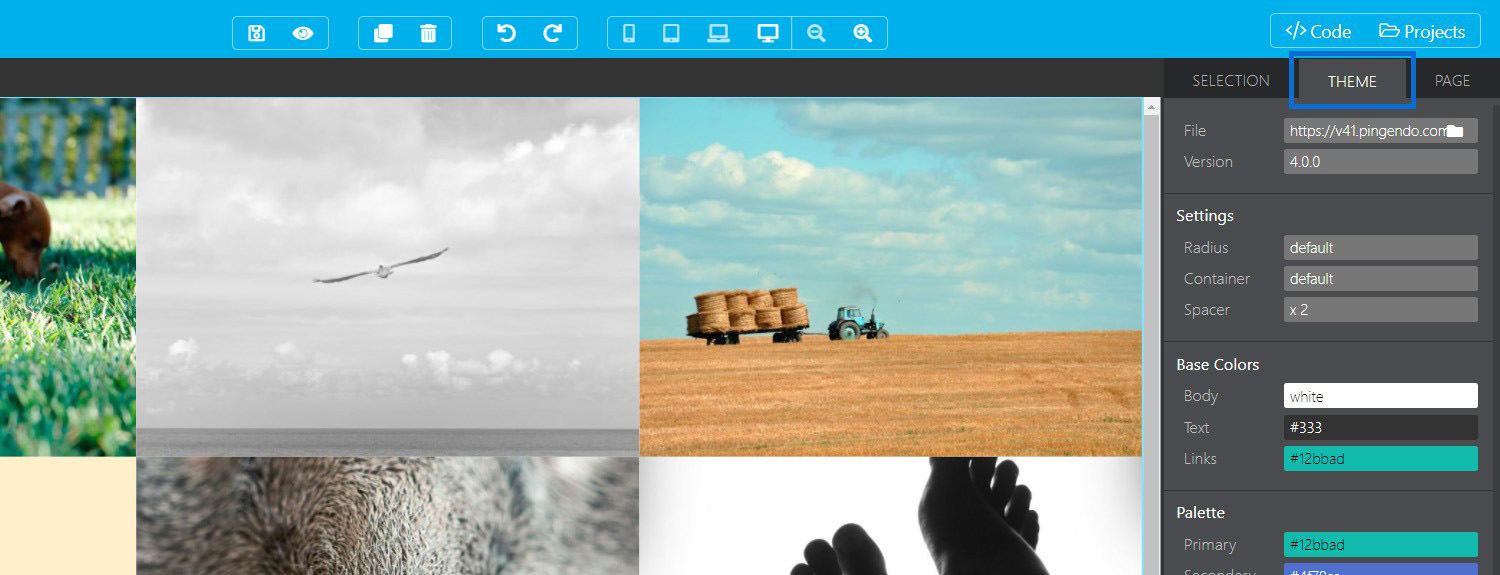
You are working on one .css file at a time. You can see and edit it from the File field, at the very top. You can apply a .css file to different project, download new ones from the Template library or simply create your own. Consider having alternatives style and then configure a switcher (e.g. theme_light.css and theme_dark.css). Every .css files comes along a .scss files, which is previewed in the Code panel, under the Sass section.
First thing to do is changing the theme colors: type the HEX code in the Base colors and Palette fields and you'll see them updating. Bootstrap natively support some colors, but you can always change them or input new ones.
Font settings
You can choose between some default system fonts. Font size, weight and spacing are easy to set with the selects. Bootstrap default gives 4 main type of text: paraghraph, lead, heading and display. All of these has specific Sass variables and custom settings, but mostly you'll need the ones listed in the Theme inspector.
Google fonts
Importing Google fonts in very simple and can radically change the look&feel of your website. You'd have to browse Google Fonts website and choose some fonts. Once selected, you should be able to open the import panel (see pics below) from the bottom left.
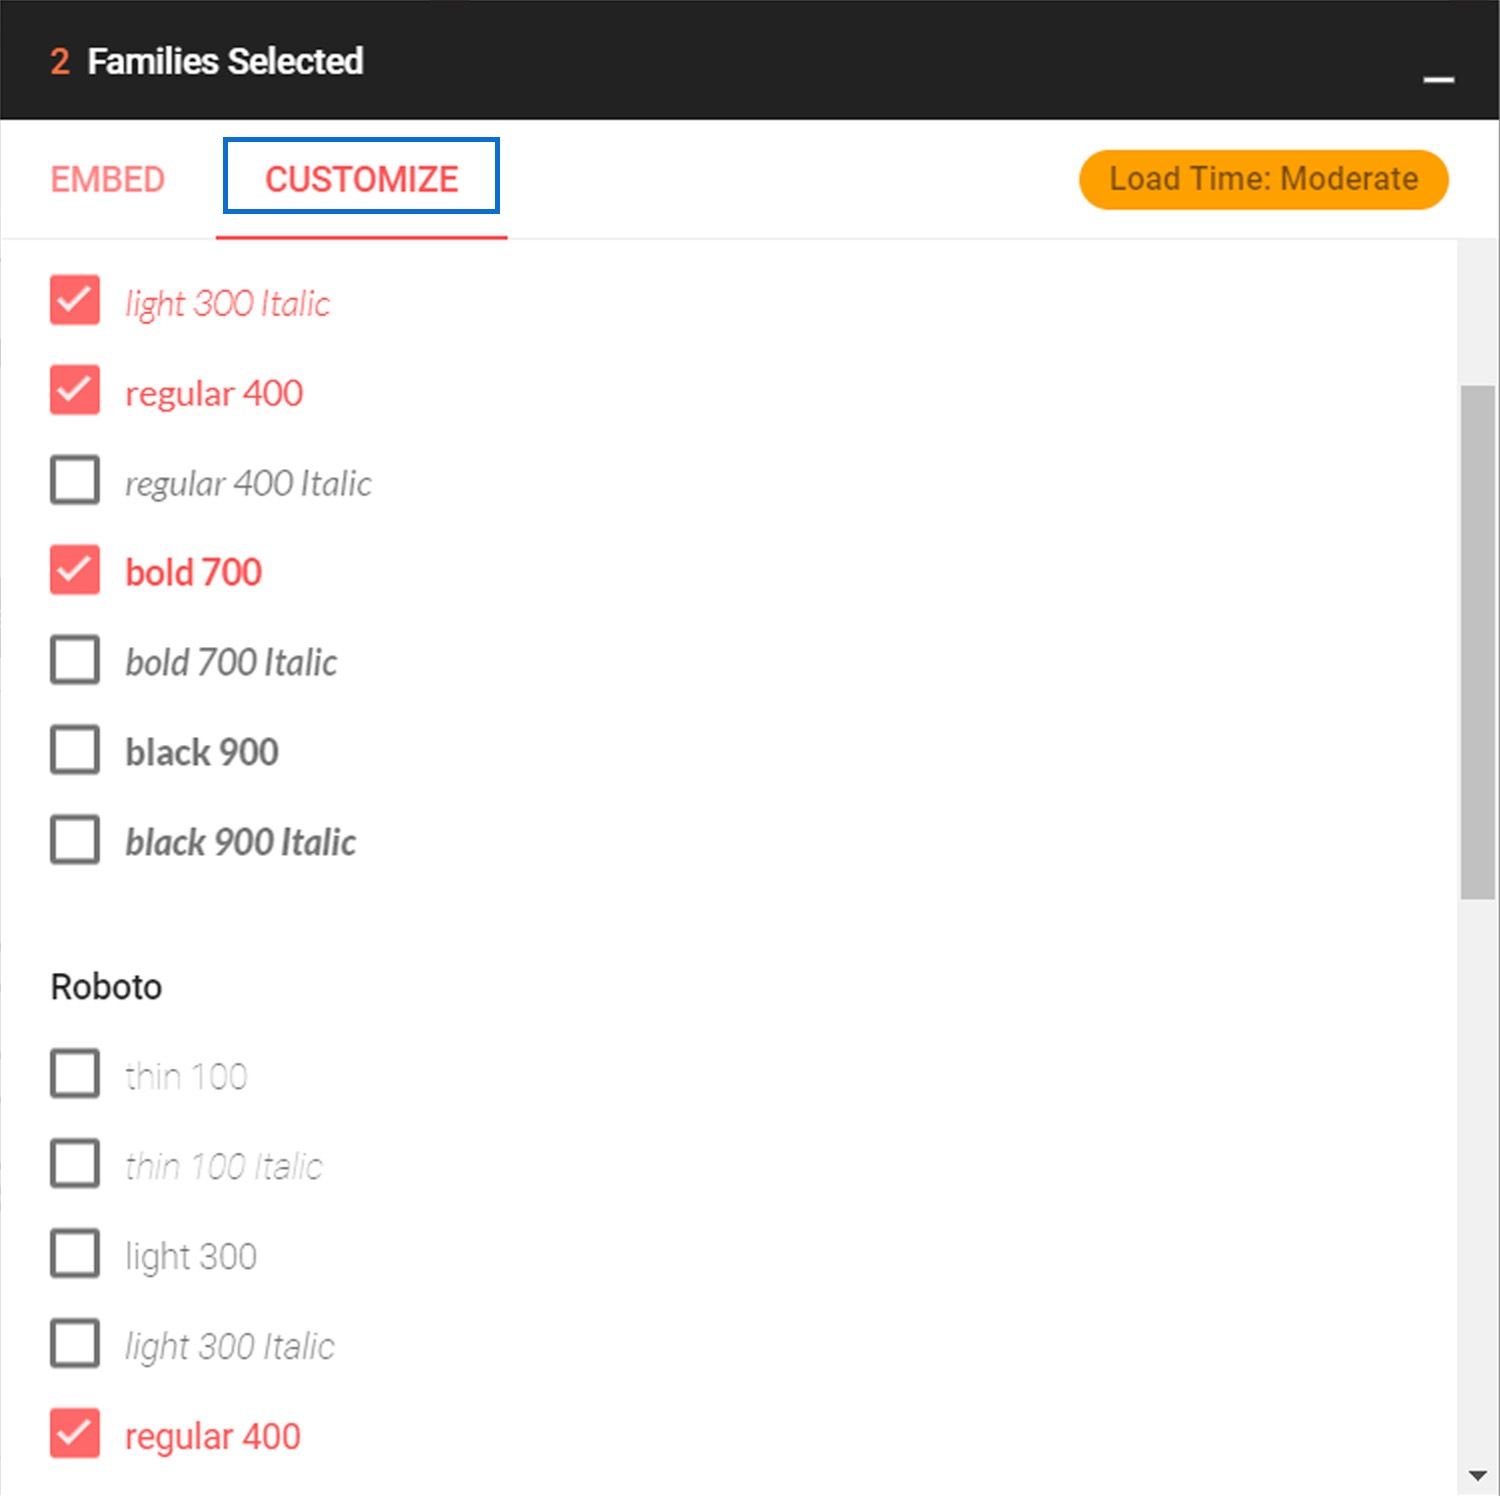
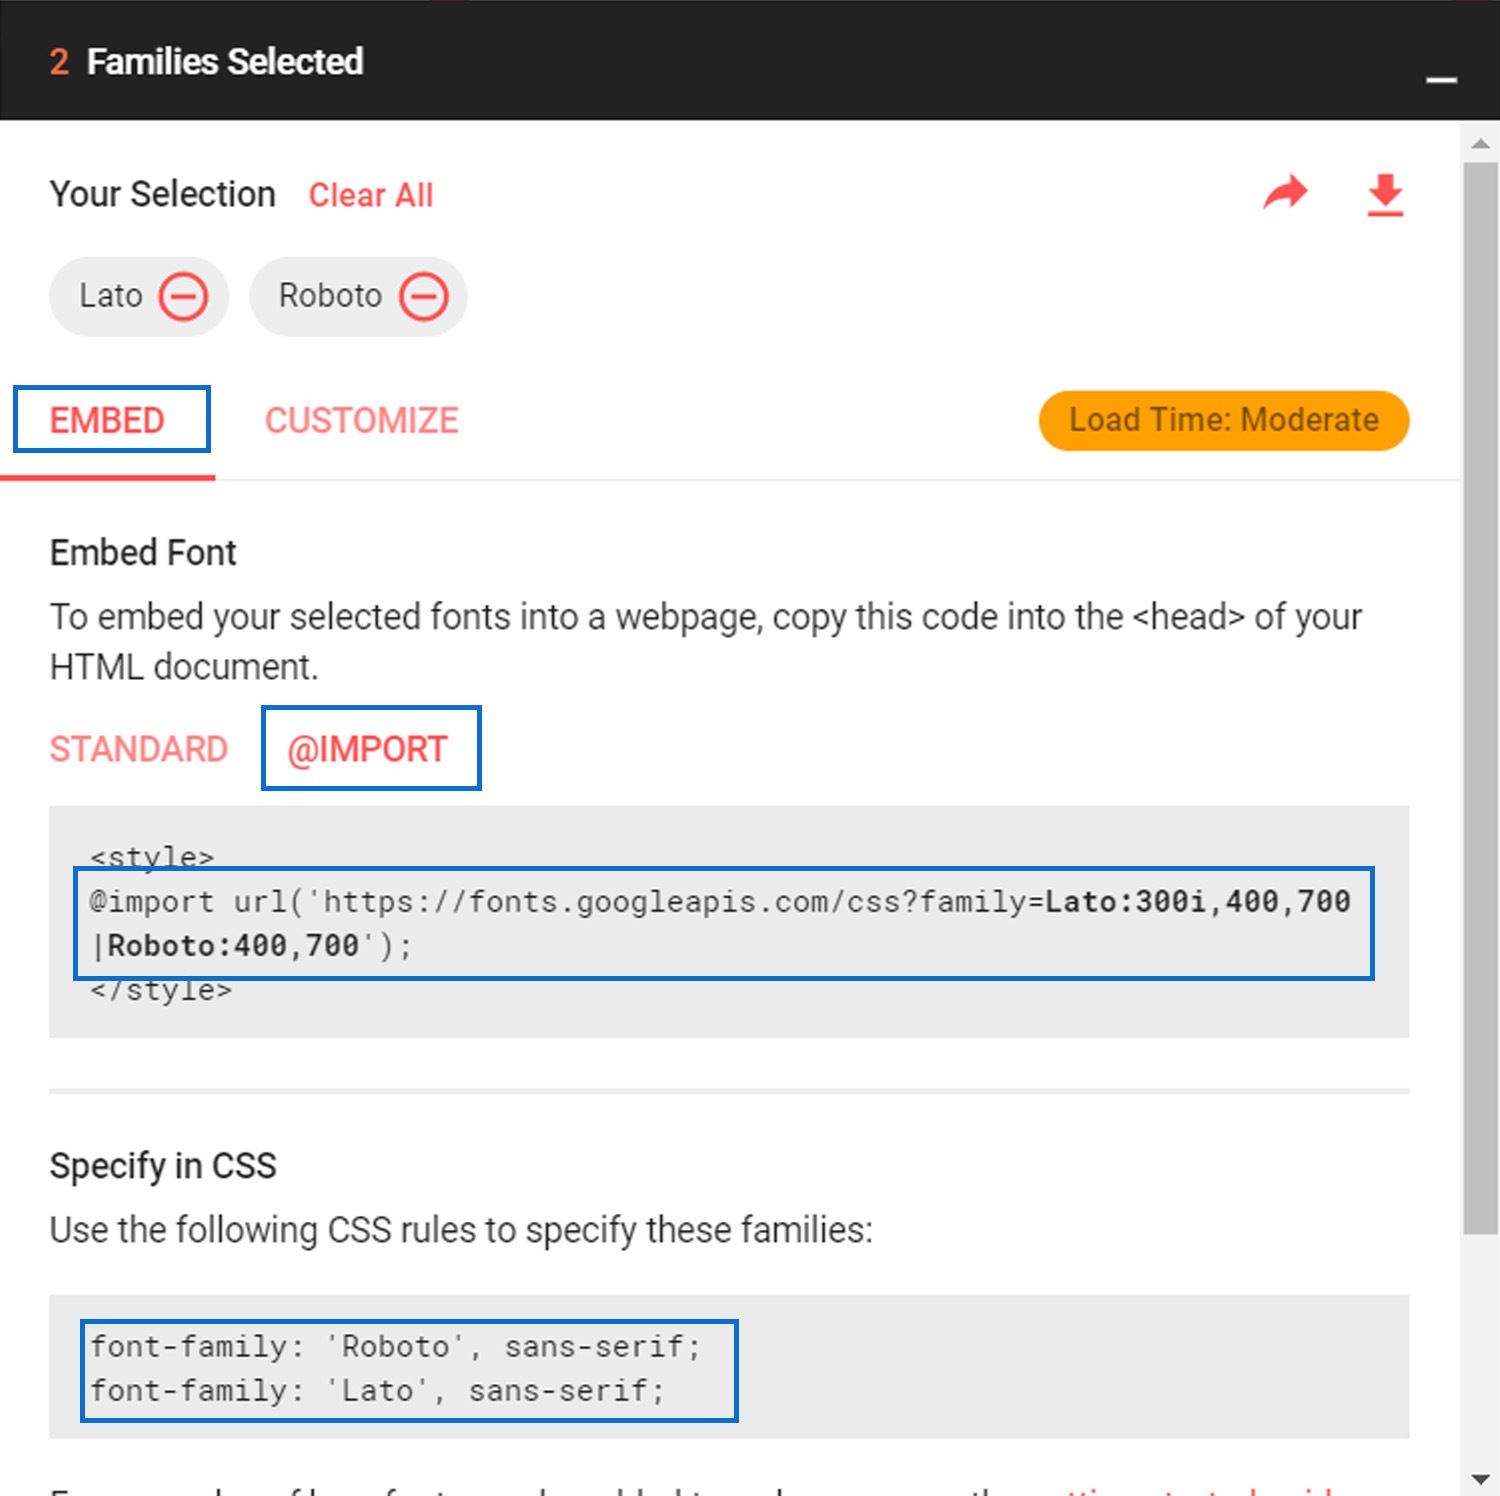
You might want to import specific font weights: under the Customize tab you can flag them. Then move to Embed tab and select @import (see right pic). Paste the string (without <style> tags) in the Sass panel. And finally enter the CSS specs in the right variables. See the example below.
$font-family-base:             'Roboto', sans-serif;
$headings-font-family:         'Lato', sans-serif;
$display-font-family:          $headings-font-family;
$font-weight-normal:           400;
$headings-font-weight:         300;
Sass variables
Bootstrap components come with Sass variables, maps and some custom CSS. By adding a specific class you're taking advantage of the framework features, and it's the fastest way to modify one item. But if you want to change the default of an item, it should be done via Sass variables.
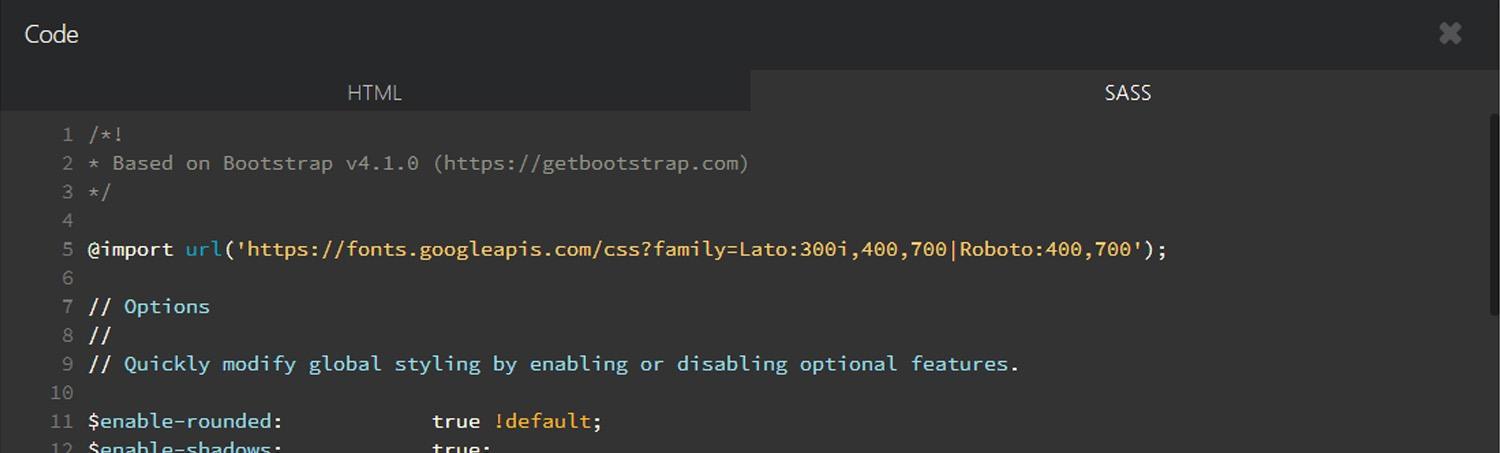
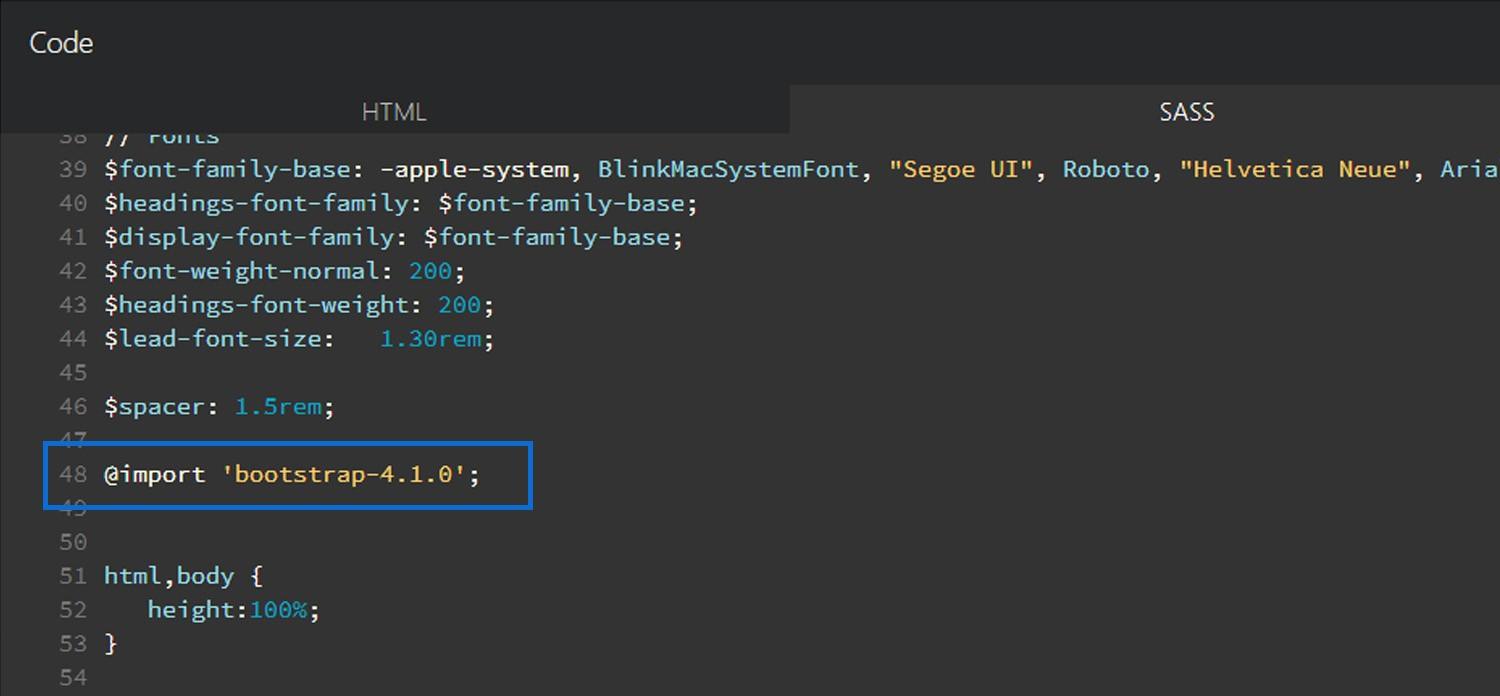
Open the Code panel and look for the @import 'bootstrap-4.1.0'; (or the Bootstrap version in use). Before this line there are the Sass variables, below the custom CSS rules. Pingendo already displays some Sass variables: these are few yet fundamental options to set the theme of your website.
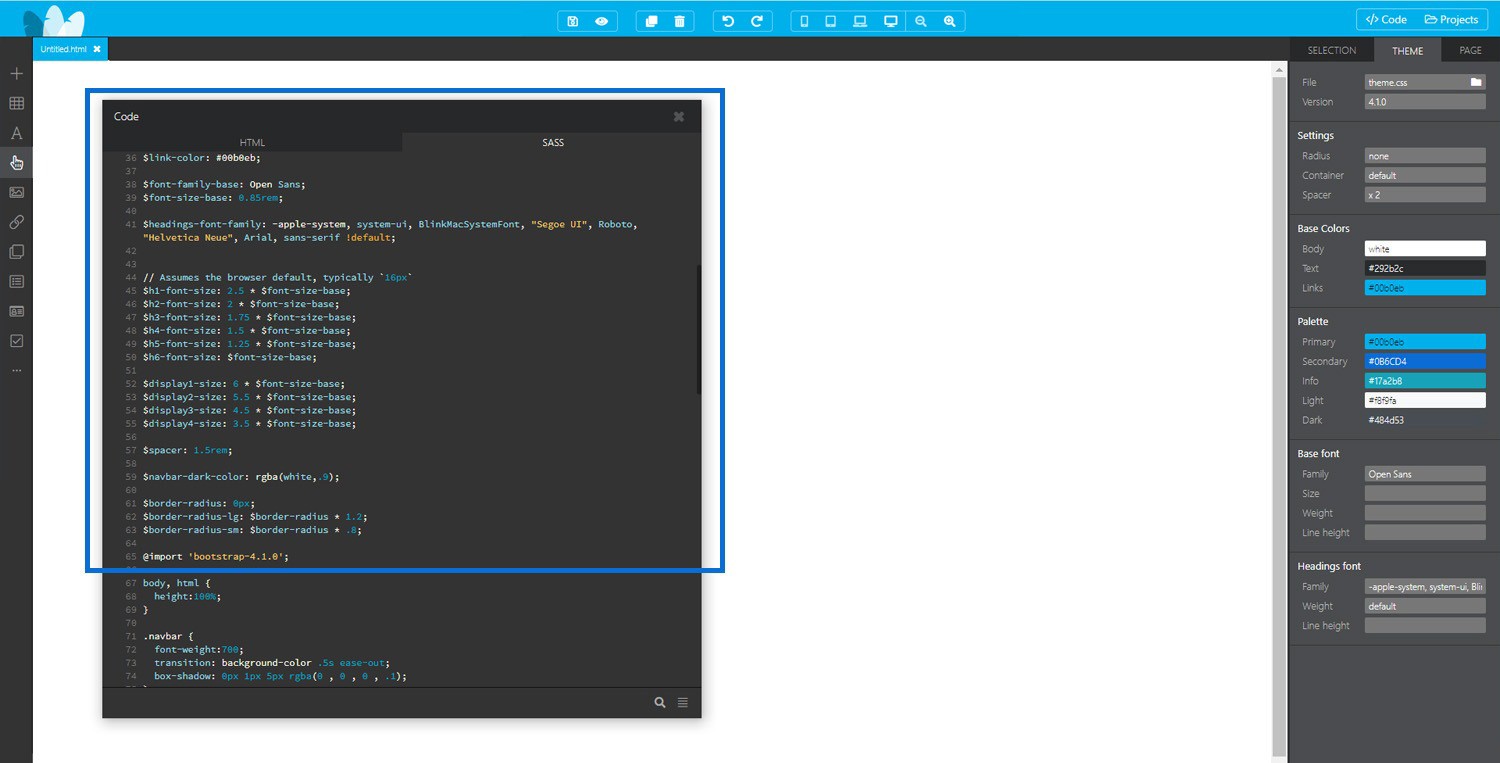
Changing the defaults it's easier than you think: browse the Bootstrap variables.scss (be sure to pick the right version). Find the item you are looking for and copy the related variables in the Pingendo Sass panel, before the import line. Now you can modify the values and see the canvas updated in real time.
You will see some conflicts if there are mistakes in your changes. Deleting the variable from the Sass source means Pingendo will use Bootstrap default again. As an example let's try to modify the default link element. Here is the default values, taken from here.
$link-color:              theme-color("primary") !default;
$link-decoration:         none !default;
$link-hover-color:        darken($link-color, 15%) !default;
$link-hover-decoration:   underline !default;
Next step is pasting these lines in the Sass panel, before the @import 'bootstrap-4.1.0';. Remove !default and edit the values. Below is shown an example of modified sets. Try by yourself by pasting it in a page of yours:
$link-color:              #ccc;
$link-decoration:         underline;
$link-hover-color:        darken($link-color, 30%);
$link-hover-decoration:   underline overline;
Now all the links in the web project will be updated. It's always possible to override these settings by adding a more specific class or with a custom CSS rule.
Custom CSS
Adding custom classes to any elements it's easy with Pingendo. Select the element you want to modify and then go to the Custom tab under Selection inspector. Type a class name you'll see a list of existing custom rules. Writing a new name will let you create a rule from zero.
You could add, modify and remove classes for any element here. It's powerfu way to overwrite default behaviours and set new ones. There are several inputs and all of them could be applied to every element. By opening the Code panel, in the Sass source you can see the list of custom CSS rules that have been written by this panel. You can edit directly from the Sass panel if you know css language.
Bootstrap requirements
The Theme inspector will tell you both the CSS stylesheet and the Bootstrap version in use. Browse and import other stylesheets to preview different appearances. Both setting can also be found in the Code panel: the stylesheet is a link in the <head> of the HTML, while the Bootstrap version is displayed as an @import in the Sass part. You can always edit the info from here.

There are some Bootstrap related scripts - listed at this link - placed before the </body> tag. They animate some components as dropdowns, modals and so on. The Sass panel refers to Bootstrap Sass variables that are listed here. Keep in mind that Bootstrap versions are changing, so be sure to check the right one. Anyway from the Theme inspector you should be able to customize the main variables with no need to open the Code.
Code while designing
Here comes one of the most appreciated Pingendo's feature: the live code editor. Every operation that you might perform within the visual builder or by the left inspectors is generating clean, battle-tested code.
Code panel
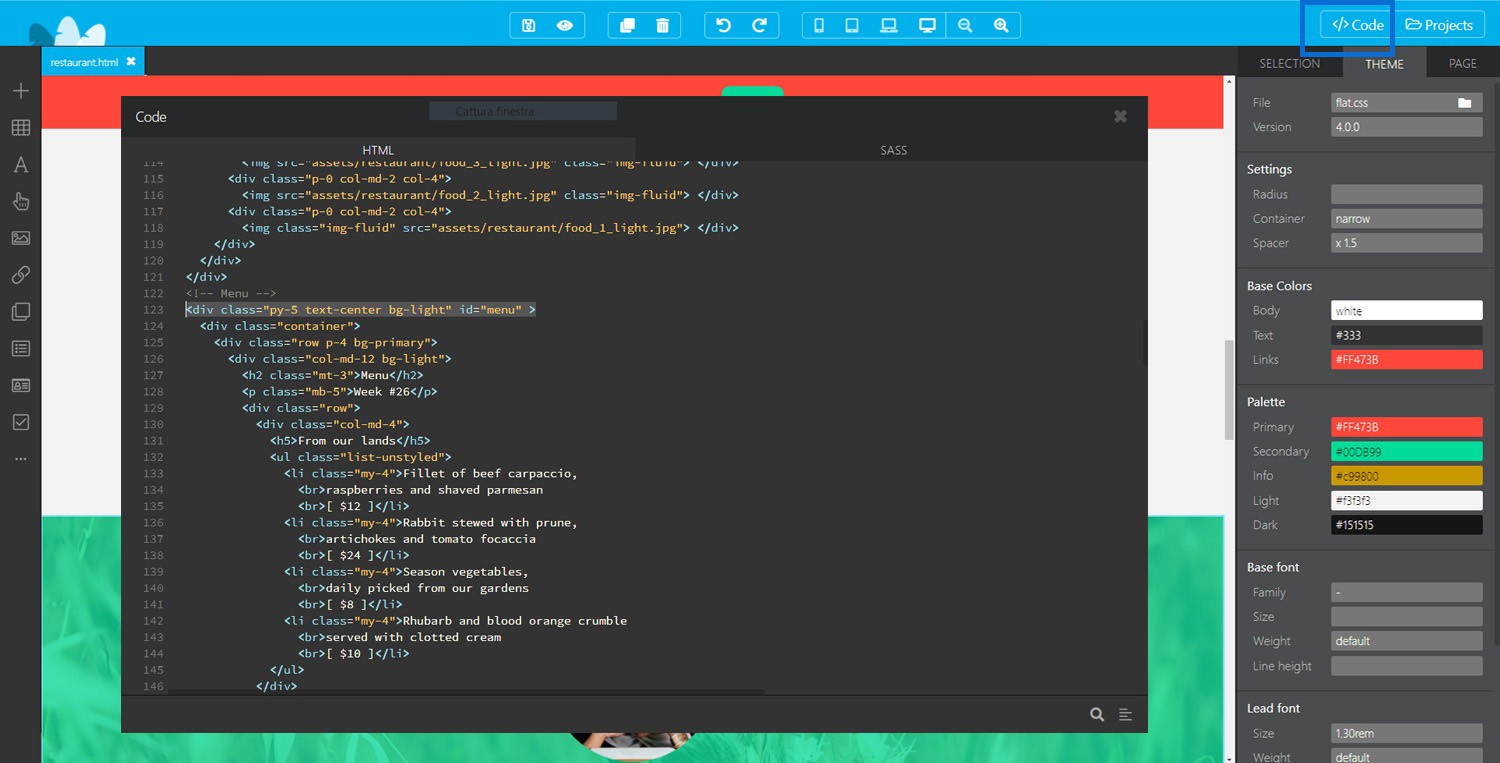
Click on the CODE button to see the Code editor or use the F2 shortcut. The HTML and SASS nav link on the upper part lets you switch between the two files related to your project: the HTML source, with all the elements and components and the .scss rules compiled by Sass.
From these drawers you can edit and integrate the webpage all the time: add custom .css rules or modify elements' classes is matter of seconds, and the effects are displayed in real time in the canvas.
Publish
Pingendo lets you launch your web project with few click, thanks to Netlify. Get a unique and permanent URL, and share it with teammates and clients, for a fast and effective collaboration.
Publish
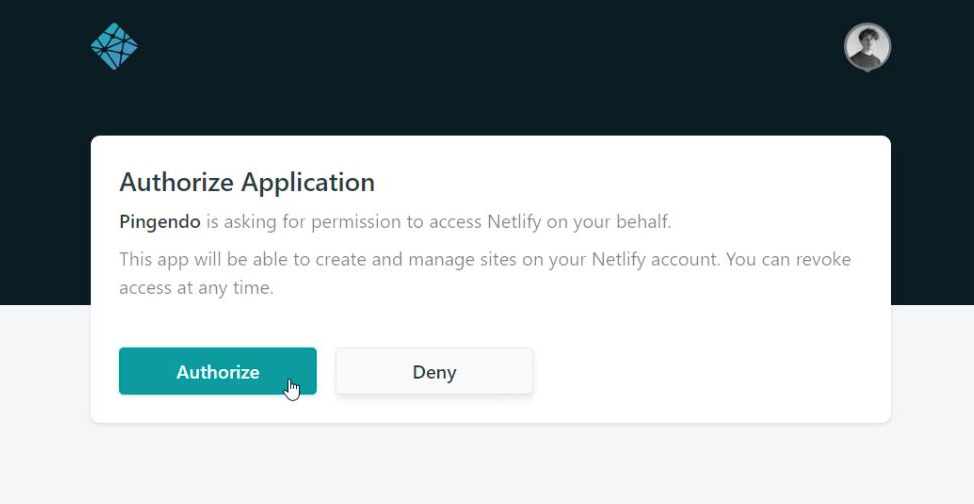
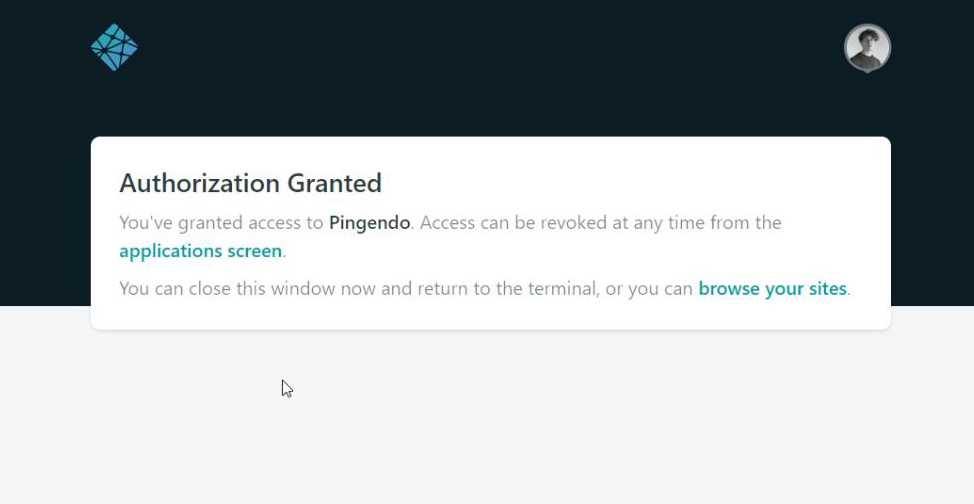
Open your project in the project panel and click Publish at the bottom. Pingendo integrates with Netlify platform, which is taking care of the deploy and hosting. If you do not have a Netlify account, you will have to create one. After loggin in, Netlify will ask to authorize Pingendo: click Authorize and go back to Pingendo.
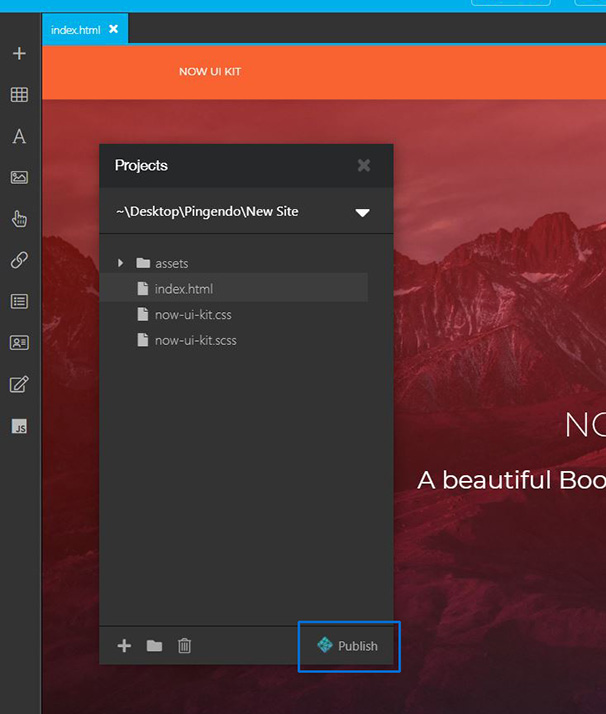
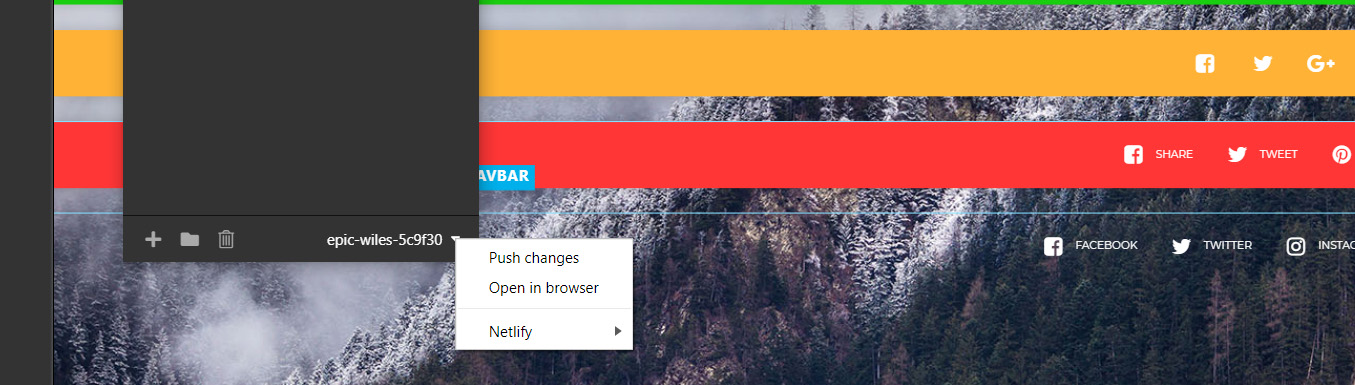
If your project has been published, you will see that the Publish botton has changed into a random path. That is the URL of your web project. Click on it, select Open in browser and share it with collaborators and clients.
TIP: be sure to name your main page index.html to see it as soon as you open the browser.
Deploy changes
Every time you want to push a change, first save it and then simply click on the URL in the project panel and select Push changes from the list. Pingendo will deploy on Netlify and you can see the URL updated in a short time.
Manage your site
If you select the Netlify submenu, you can access more advanced settings:
- Manage Site: Access Netlify dashboard and all the site settings.
- Change Site: Browse the list of your Netlify sites and change the URL of your project.
- Unpublish: Remove the Pingendo automatic deploy to that site (this won't delete the live URL).
From the dashboard you can set a custom domain for your web project, restore older deploys or delete the website. Be sure to browse Netlify Docs for specific topics regarding the publication.
Shortcuts
| Ctrl-c | Copy |
| Ctrl-x | Cut |
| Ctrl-v | Paste |
| Ctrl-shift-c | Clone |
| Del | Delete |
| Esc | Select parent element |
| Ctrl-z | Undo |
| Ctrl-shift-z | Redo |
| Ctrl-s | Save |
| Ctrl-shift-s | Save as |
| F1 | Projects panel |
| F2 | Code editor |